`markdown
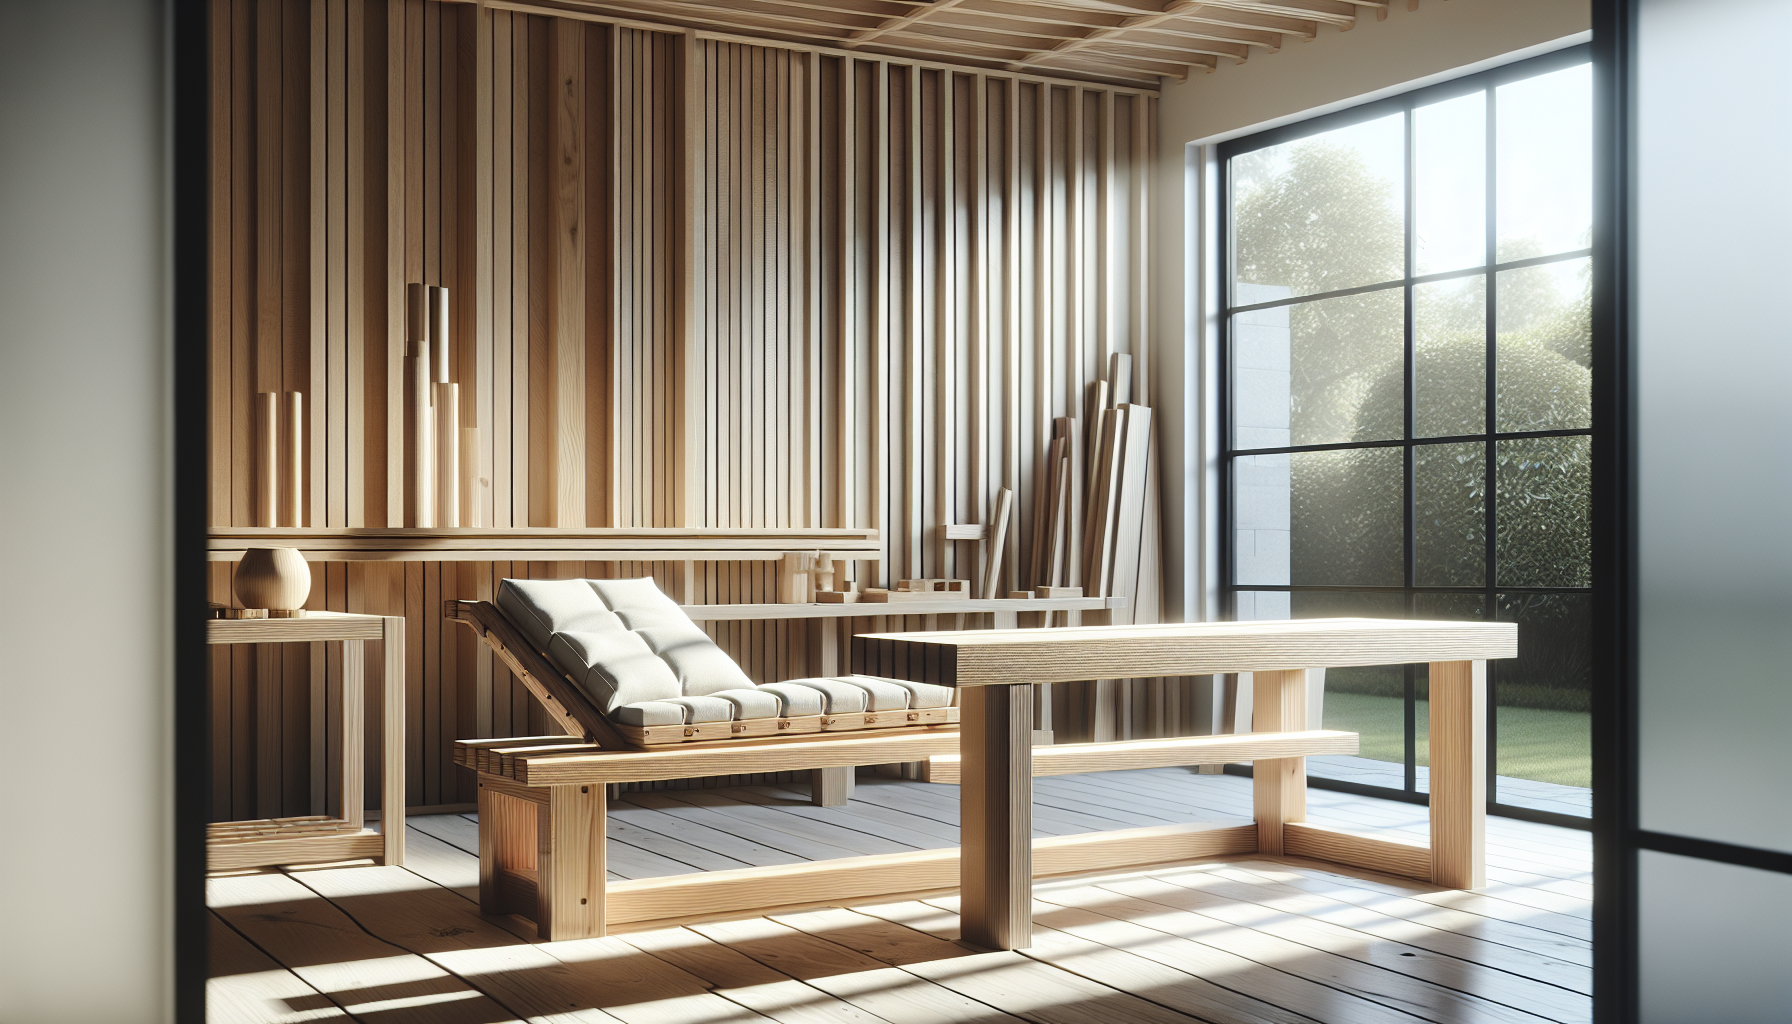
Simple 2x4 Bench Plans
This no-frills 2x4 bench is my go-to project for beginners—it’s sturdy, requires minimal tools, and costs under $30. I’ve built over 50 of these for clients and still use the original one in my workshop. Below, I’ll walk you through the exact steps I use, including a pro tip for avoiding wobble.
What You Need
Tools
- DeWalt DWS780 miter saw (or circular saw with speed square)
- Drill with #8 countersink bit
- Kreg K5 pocket hole jig
- Tape measure
- 80, 120, and 220-grit sandpaper
- Clamps
Skills
- Basic measuring
- Drilling pocket holes
- Squaring joints
Materials & Cut List
| Part | Qty | Dimensions (inches) | Notes |
|---|---|---|---|
| Seat Slats | 3 | 1.5" x 3.5" x 48" | Rip 2x4s to 3.5" width |
| Legs | 4 | 1.5" x 3.5" x 17" | Angled cuts at 15° (see Step 3) |
| Front/Back | 2 | 1.5" x 3.5" x 14.5" | Connects legs |
| Side Braces | 2 | 1.5" x 3.5" x 12" | Reinforces structure |
Lumber notes:
- Buy straight 2x4 lumber—check for bowing by sighting down the edge.
- Personal tip: Let wood acclimate indoors for 48 hours to minimize warping.
Step-by-Step Assembly
1. Cut the Legs
Use your miter saw to cut four legs at 17". Mark 15° angles at the bottom for stability. Pro tip: Cut one leg, then use it as a template for the rest.
2. Assemble the Frame
- Attach front/back pieces (14.5") between legs using Titebond III and 2.5" deck screws.
- Reinforce with joist hangers if using outdoors.
3. Add Side Braces
Pocket hole screws (Kreg jig) work best here. Drill two holes at each end of the 12" braces, then secure to legs. You’ll notice the grain direction affects screw grip—orient for maximum strength.
4. Install Seat Slats
Space the three 48" slats evenly (1/4" gaps). Pre-drill to prevent splitting. I learned the hard way: skip glue here—wood movement will crack joints over time.
Finishing
- Sand with 80-grit, then 120-grit. Round all edges slightly.
- For outdoor use, apply Thompson's WaterSeal. Indoors, try Minwax Early American stain.
- Unusual tip: Rub candle wax on screw heads before driving to reduce friction.
Variation: Swap 2x4 seat slats for 2x6 lumber if you want a wider seat (adjust side braces to 14").
Common Mistakes
- Uneven legs: Always check diagonals with a tape measure before screwing.
- Over-tightening screws: This strips pocket holes—stop when resistance increases.
- Ignoring wood grain: See this bench project for grain-matching tricks.
FAQ
Q: How much weight can this bench hold?
About 400 lbs. For heavier loads, add a center leg (see a similar woodworking project).
Q: Can I use nails instead of screws?
No—deck screws resist pull-out forces better. Nails loosen over time.
Q: What’s the best wood for outdoor use?
Pressure-treated pine or cedar. Avoid untreated lumber (rots quickly).
Q: How do I fix a wobbly bench?
Check for uneven leg angles. Shim the shortest corner with a coin.
Q: Can I make this without a Kreg jig?
Yes—but you’ll need corner brackets (less clean look).
Q: How long does this take to build?
About 2 hours for beginners, 45 minutes with experience.
Want 16,000 More Plans?
For advanced designs like Adirondack chairs or storage benches, check out Ted’s Woodworking. It’s the only resource I recommend for project diversity.
Written by Mike Carpenter, woodworker since 2009. Last updated February 2026.
`

Reader Comments (3)
Okay, I actually *just* finished building this bench this weekend and wow, it was way easier than I thought! My only hiccup was I accidentally cut one of my 2x4s a little too short for the seat slats. Had to make another quick trip to the hardware store, but overall, this was a fantastic project for a beginner like me. My kids are already claiming it for their backyard fort! Thanks for the clear instructions!
👍 19Solid plans. I usually frame them with pocket holes to speed things up, especially if I'm churning out a few. Make sure to pre-drill those 2x4s, they can split on you if you're not careful, particularly near the ends. Good starter project.
👍 13Oh, I just love these plans! I made a pair of these benches for my porch last spring, and they’ve held up beautifully through all the rain and sun. I used a nice cedar stain on mine, and they look so handsome flanking my rose bushes. My grandkids love sitting on them to watch the birds. Thank you for sharing such a straightforward and rewarding project!
👍 21Share Your Build