`markdown
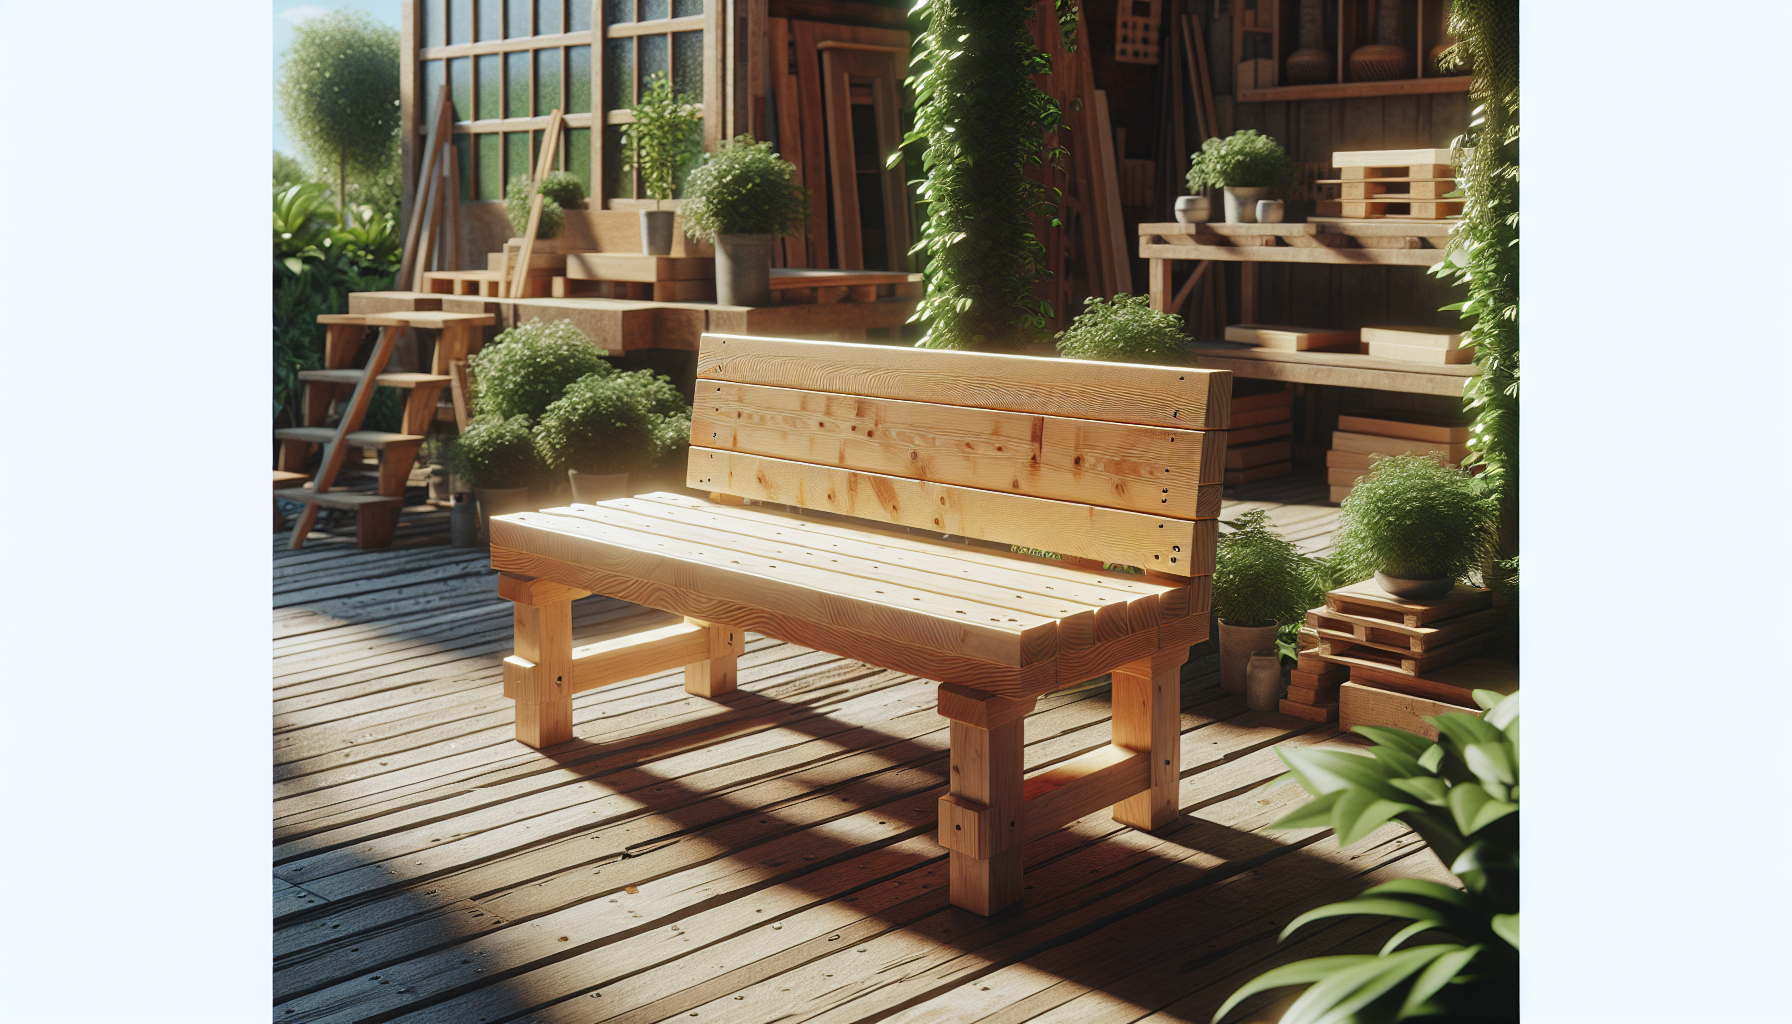
2x4 Outdoor Bench Plans
Building a sturdy outdoor bench using 2x4 lumber is a rewarding project that combines simplicity and functionality. These plans are perfect for beginners and seasoned woodworkers alike. With just a few tools and materials, you can create a bench that will last for years. Below, I’ll walk you through everything you need, including a detailed cut list, step-by-step assembly, and finishing tips.
What You Need
Before diving into the project, gather these tools and materials:
Tools
- Tape measure
- Speed square
- Miter saw (or circular saw)
- Drill with bits
- Kreg pocket hole jig
- Clamps
- Sandpaper (80, 120, and 220 grit)
Materials
- 2x4 lumber (8 pieces, 8 feet long)
- Deck screws (2.5-inch and 3-inch)
- Wood glue (I recommend Titebond III for outdoor use)
- Joist hangers (optional for added strength)
- Exterior wood stain (Minwax or Thompson’s WaterSeal)
Safety Gear
- Safety glasses
- Hearing protection
- Dust mask
Materials & Cut List
Here’s the exact cut list for this project. Measure twice, cut once!
| Part | Qty | Dimensions (inches) | Notes |
|---|---|---|---|
| Seat Slats | 5 | 1.5 x 3.5 x 48 | Rip 2x4s to 3.5 inches wide |
| Legs | 4 | 1.5 x 3.5 x 17.5 | Cut at 15-degree angle at top |
| Front & Back | 2 | 1.5 x 3.5 x 42 | |
| Side Supports | 2 | 1.5 x 3.5 x 14.5 | |
| Armrests | 2 | 1.5 x 3.5 x 24 | |
| Arm Supports | 2 | 1.5 x 3.5 x 14.5 |
Personal Tip: I learned the hard way that ripping 2x4s to 3.5 inches wide for the seat slats gives a cleaner look and reduces warping over time.
Step-by-Step Assembly
Step 1: Cut the Pieces
Using your miter saw, cut all the pieces according to the cut list. Double-check the angles on the legs—they should be 15 degrees at the top for stability.
Photo Hint: At this step, you’ll notice the grain direction on the legs. Orient them so the grain runs vertically for maximum strength.
Step 2: Assemble the Frame
Start by attaching the front and back pieces to the legs using 3-inch deck screws and wood glue. Use a speed square to ensure the corners are perfectly 90 degrees.
Step 3: Add Side Supports
Attach the side supports between the legs at the bottom. This adds rigidity to the frame. If you want extra strength, use joist hangers here.
Step 4: Install Seat Slats
Space the seat slats evenly across the frame. Use a Kreg pocket hole jig to drill pocket holes on the underside of each slat, then secure them with 2.5-inch deck screws.
Variation: If you want a wider seat, use 2x6 lumber instead of 2x4 for the slats. Just adjust the spacing accordingly.
Step 5: Attach Armrests
Screw the armrests to the top of the legs. Use wood glue and deck screws for a secure fit. Attach the arm supports underneath for added stability.
Step 6: Sand the Bench
Sand the entire bench with 80-grit sandpaper to remove rough edges, then move to 120-grit and finish with 220-grit for a smooth surface.
Finishing
Apply an exterior wood stain like Minwax or Thompson’s WaterSeal to protect the bench from the elements. I recommend two coats for maximum durability. Allow each coat to dry completely before applying the next.
Personal Tip: After staining, I always add a coat of polyurethane for extra protection. It’s not necessary, but it’s a trick I picked up from a fellow woodworker.
Common Mistakes
- Not Sealing the Wood: Skipping the stain or sealant will lead to premature weathering. Always finish your outdoor projects.
- Uneven Spacing: Use spacers to ensure even gaps between seat slats.
- Over-tightening Screws: This can split the wood. Drill pilot holes to avoid this issue.
FAQ
Q: How much weight can this bench hold?
A: Properly assembled, this bench can hold up to 300 pounds. For added strength, use joist hangers and thicker lumber.
Q: Can I use cedar instead of pine?
A: Absolutely! Cedar is more weather-resistant and lasts longer outdoors. Check out this outdoor seating project for cedar-specific plans.
Q: How long does this project take?
A: It takes about 4-6 hours, depending on your skill level and tools.
Q: Do I need a Kreg jig?
A: It’s not mandatory, but a Kreg jig makes the assembly cleaner and stronger.
Q: Can I paint the bench instead of staining it?
A: Yes, but make sure to use exterior-grade paint for durability.
Q: What’s the best way to maintain the bench?
A: Reapply Thompson’s WaterSeal or a similar product every year to keep it looking fresh.
Written by Mike Carpenter, woodworker since 2009. Last updated February 2026.
Want 16,000 More Plans?
If you enjoyed this project, you’ll love the extensive collection of plans available at Ted’s Woodworking. With over 16,000 detailed plans, you’ll never run out of ideas for your next woodworking adventure!
`

Reader Comments (3)
Hey everyone, really like the look of this bench. Quick question for Pete_DIY - you mentioned using 2.5-inch deck screws. What's the actual length you recommend for the main frame connections, especially where the 2x4s are doubled up? I want to make sure I get the right grip without splitting the wood. Thanks in advance!
👍 8This bench turned out even better than I imagined! My grandkids helped me screw in the supports on the sides, and they were so proud to see it all come together. I finished it with a nice outdoor sealant to keep it safe from the rain, and it looks perfect on my patio. It’s the ideal spot for me to sit and watch my tomatoes grow. Thanks for the easy-to-follow plans!
👍 6Hey there! I just finished building this bench and wow, it's sturdier than I expected! I'm still pretty new to woodworking, and honestly, I messed up the measurements for the back legs the first time and had to redo them. Oops! But the step-by-step pictures were a lifesaver. It looks great on my patio, and my kids are already claiming it as their 'reading spot.' So happy with how it turned out! Thanks for the great plans!
👍 31Share Your Build